Falcon XP
Updates
Page 2
The first page was
getting too big and the pictures weren't all loading the first time, so I've
decided to split the pages up to keep load time for dial up users (like myself)
down to a minimum.
31 Jan 04
The move. We had
moved the Falcon's fuselage to Air park back on Thursday, but didn't bring the
camera. Then, on Saturday, Dad, Hal Lorenz, Coy, Dale Lorenz and myself
loaded the wings, ailerons, trailing edges and other bits onto my race trailer
and moved it all out to Air park. There, we attached the wings, ailerons
and trailing edges. We saw the full painted airplane together for the
first time ever. Next will be gauges, engine and canopy.
L-R: The wings and bits loaded on my race trailer. The fuselage waiting
for it's wings. Right after we got the wings on.
L-R: Other side (port?) after wings were on. Looking at the top where the
two painted wings come together. 12 foot fuselage with a 38 foot wingspan
pictured with (l-r) Hal Lorenz, Alyssa Lorenz, Dale Lorenz.
05 and 07 Feb 04
Dad and I went out to
airpark and attached the canard and winglets. It's was a pretty cold day
and with the wind gusting to 20 mph, it made it a little too cold for these two
Southern Boys. We did the bare minimum for today and bugged out.
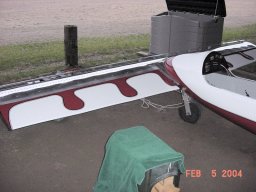
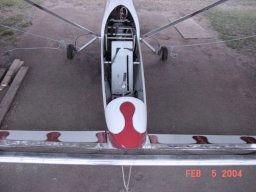
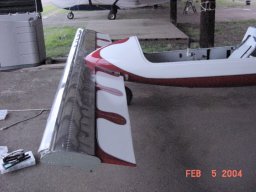
Three pictures of the canard after we attached it.
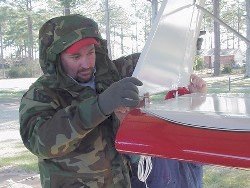
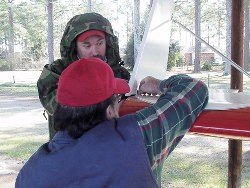
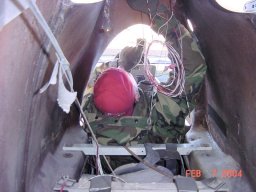
L-R: Me holding the right winglet while Dad inserts the bolts. Dad and I
tightening the winglet. Me in the fuselage trying to fish out a rudder
control cable that got pushed up into the wing. I didn't get it out this
day, but I'll get it next time.
Feb-Mar
04
We have been working on
the Falcon, but it's stuff that isn't very "picture-worthy. We've been wiring
out from the instrument panel to the engine, mounted the throttle cables and
choke cables. A lot of tedious and time consuming work. We've
mounted and dismounted the engine about 15 times now. We are making small
steps, but we aren't there yet. We've had business trips, air shows and
family commitments that have slowed progress. Keep the faith, we're getting
there.
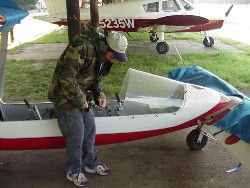
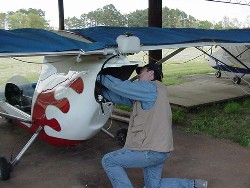
L-R: Me cutting the choke cable. Dad hooking up the cables in the
fuselage.
18 Apr 04
It's coming along.
We have been able to mount the new two-piece canopy on the Falcon. We put
about 10 hours of work into the canopy on this day.
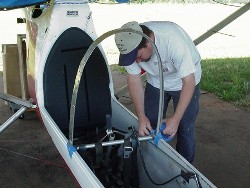
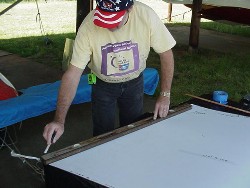
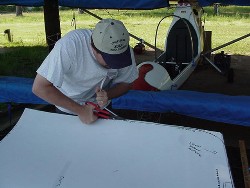
L-R: Me attaching the brace. Dad marking the lexan. Me cutting the lexan.
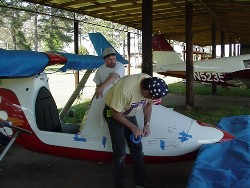
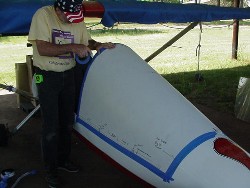
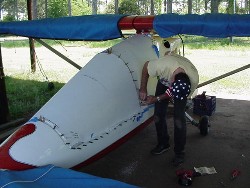
L-R: Dad and I Fitting, taping and trimming. Dad taping before we start
drilling. Dad inserting cleco's before we rivet.
19 Apr 04
Dad was off work this
day, so he worked all morning and then I dropped by that afternoon to help out.
He had the canopy all but finished by the time I got there.
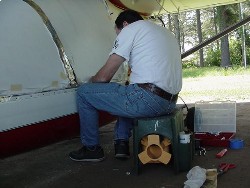
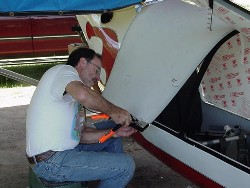
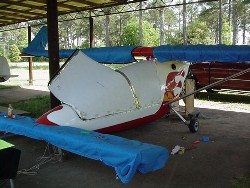
L-R: Dad riveting the canopy. Dad riveting the back portion. The
left side view.
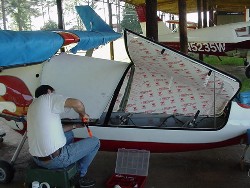
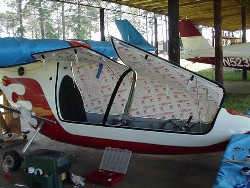
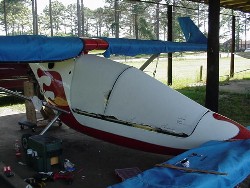
L-R: Dad working on the right side. The 90% finished product. The closed
canopy.
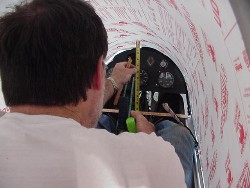
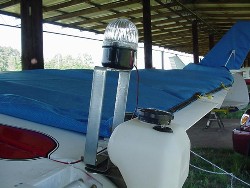
L-R: Dad measuring the inside. We are going to move the instrument aft about 6
inches, so we needed the template to make the new one. The new position
strobe. We also two more that will go on each wing tip.
25 Apr 04
Dad was off this
day to start on relocating the Instrument Panel. We decided to move it aft
about 6 inches to make the instruments closer to read and get the switches
within better reach. The 6 inch gap between the old panel and the new one
will be nice in helping with the wiring of the instruments and switches.
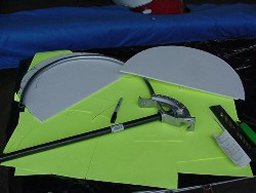
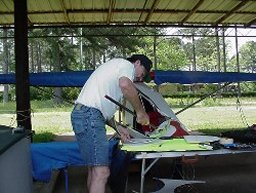
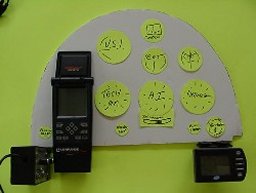
L-R: The tools used to make the template. Dad bending the tubing to match
the shape of the canopy. The cardboard template with intercom, GPS and
compass attached.
27 Apr 04
The first panel was made
from Acrylic. Dad found out real quick, acrylic doesn't like to be cut.
It shattered while cutting out the last hole. So, he started over and made
the next one from Lexan. He figured, if it's strong enough to be the
canopy, it can surely hold some instruments.
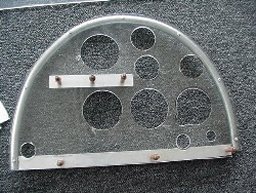
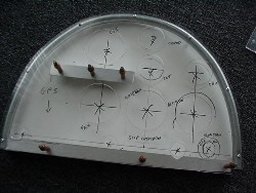
L-R: The new panel. The new panel with the template behind it.
29 Apr 04
We test fitted the new
panel today. You ask why there were two days between the making and test
fitting? Air Park, where the Falcon is located clear across town from where dad
lives.. It's about a 30-40 minute trip there and it's a trip he doesn't make
everyday. He's hoping to, one day, have a house near the hanger or a
hanger near the house.
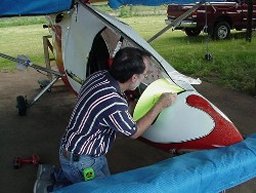
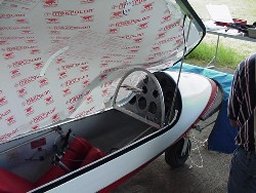
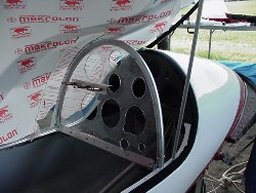
L-R: Making the template for the original panel cover. The new panel test fit.
Closer shot of the new panel test fit.
03 May 04
Set the newly painted
panel in temporarily. (It needs to be able to come out so we can finish the
wiring. We also mounted the 2 fuse busses on the old panel cover. We also
pulled the engine off (again), took it home and started putting the gear
reduction "E-box" together to mount on the engine. I was humming along
putting it together, but the directions weren't written for a complete novice
like myself, so I had to put it away for a day, call Ronnie at South Mississippi Rotax and get some very helpful advice.
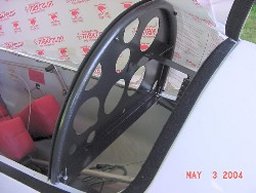
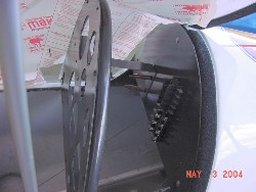
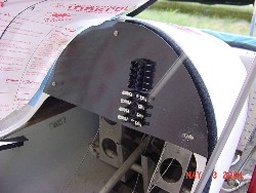
L-R: New panel installed. New panel with fuse bus visible. Fuse busses
installed.
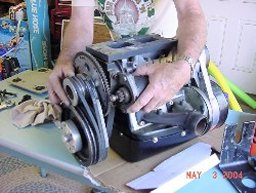
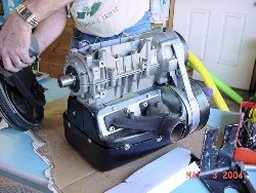
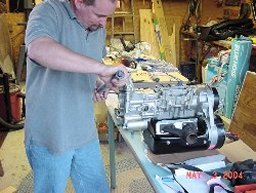
L-R: Taking off the belt drive. The bare Rotax 503. Me torquing the
attaching bolts of the e-drive.
10 May 04
Dad was off
again.. (He's off each Monday) He was able to attach the velcro for the wing gap
cover. The wings have a 2 inch gap between them and a piece of fabric is
used to cover it. The fabric is just velcro'ed in place. He also
pulled the protective covering off the lexan and mounted the engine one more
time. The engine will come off once more when the proper bolts that are
used to mount it come in the mail.
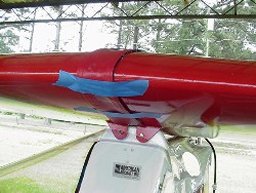
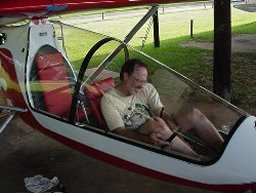
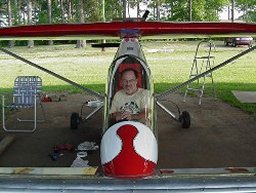
L-R: The fabric covering the gap. The blue tape is keeping everything in place
while the glue on the velcro dries. Dad in the Falcon attaching the side
straps. Head on shot of the Falcon. It's really not as cramped as it
looks.
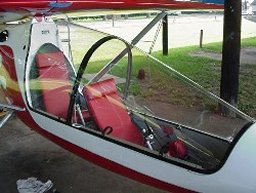
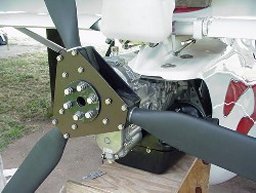
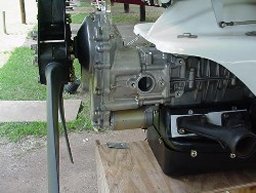
L-R: The canopy and new seats installed. The new propeller. The Rotax 503
with the E-drive installed.
14 May 04
We have started to
install the instrument panel.
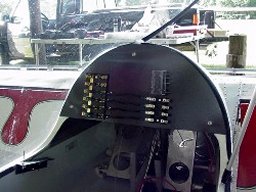
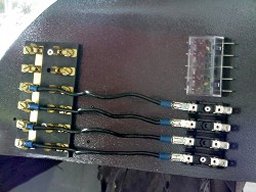
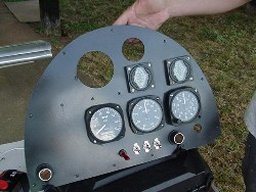
L-R: The new power distribution panel with fuse busses. Close up of
panel and busses. New instrument panel. The to empty spaces will
house the VSI (vertical speed indicator) and compass.
17-18 May 04
Still working on
the instrument panel. Dad was able to mount the panel a couple of days ago
and now we are wiring everything up. He came and mounted the common ground
yesterday. Today we started to wire the EGT and
CHT gauges. We had to splice a jumper wire to make the connection long
enough and then run the wires through the fuselage. The CHT
thermo-couplers ended up being the wrong size so we couldn't finish up today.
We started losing daylight before I had a chance the splice the EGT wires.
I'll get to them on Thursday.
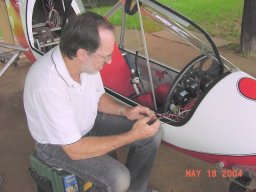
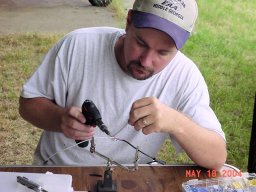
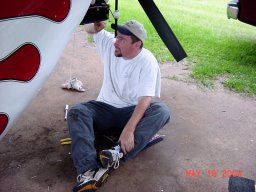
L-R: Dad wiring up the ignition switch. Me soldering the jumper wire for
the CHT. Me tightening the bottom cover of the engine.
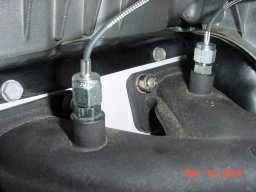
The EGT temp probes.
20 May 04
More wiring..
Wired up the EGT's, the CHT's and more of the panel.
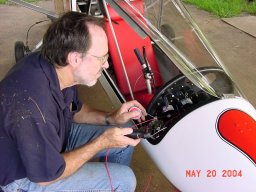
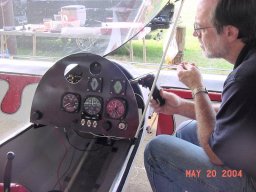
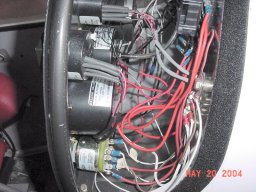
L-R: Dad soldering more connections. Dad soldering. Behind the panel after
more wires added.
22 and 24 May 04
After the EAA
Picnic on 22 May, Dad and went about wiring more things in the Falcon. The
biggest hurdle crossed this day was getting the strobes wired up and grounded so
they all work. On 24 May, Dad mounted the working strobes.
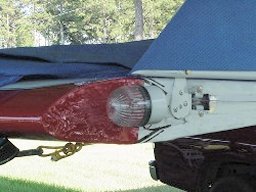
Mounted strobe.
27 May 04
Dad and I worked on
mounting and connecting the carburetors, choke and throttle cables. He
already had the muffler mounted by the time I got there. As for the rest,
well, actually, Dad worked on 99% of it. I had attend a work Picnic and then
showed up just to kind of help out for a couple hours. I didn't do much
this day.
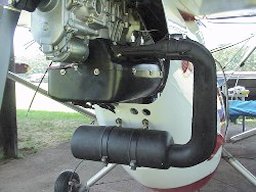
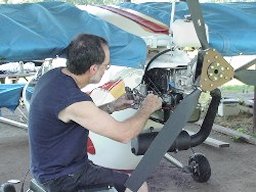
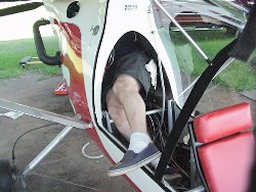
L-R: The mounted muffler. Dad working on the throttle cable for the carb.
Dad working on the throttle cables from a different angle. :)
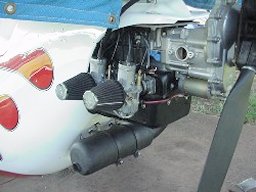
Carbs, cables, and muffler all mounted.
29 May 04
Dad mounted the fuel pump
and ran the fuel lines today. I was preparing to paint my house, so he had
no help today.
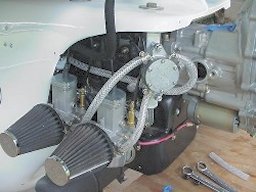
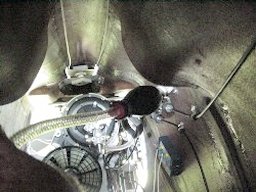
L-R: The mounted fuel pump can be seen about 2 o'clock from the rear air filter.
Inside the fuselage pod looking at the fuel primer bulb.
10 Jun 04
Everyone has been so busy
with other duties, we haven't been able to spend much time on the Falcon lately.
Dad did go out there today and mount the front seat permanently, attached the
rear seat rudder pedals onto the back of front seat and attached and lubricated
the cables. He also remounted the fuel pump with dampeners to fight
vibration. And, he put the new velcro on the seats to hold the
cushions and repalced the flutter bar bolts with the proper length bolts. (The
old ones were too short) No pics this time.
22 Jul 04
Dad has made a few
trips out and worked a couple things. Our schedules have finally allowed us to
start working together
again this week. We went about attaching the engine primer bulb today. We
had to fabricate the lines and then we were going to mount it. Mounting needs a
"shelf" fabricated. Dad will make that and we'll mount it Saturday. We
also ran across a problem with the throttle and choke cables not moving now
that everything is hooked up. We'll try and find someone to help us
troubleshoot that.
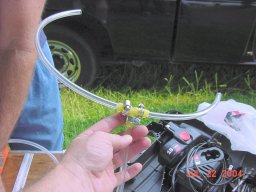
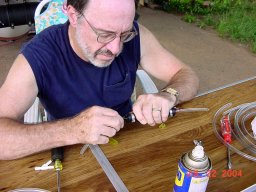
L-R: The T-junction for the fuel tank. Dad putting together the engine
primer hoses.
24 Jul 04
After our EAA
meeting, Dad and I went back out to Air Park to work on the Falcon. On the
way, we stopped by Elrod's Field and got some helpful advice from Bob Edmonton
and the Ultralight guys. We were able to finish up the engine wiring,
mount the new instruments, wash it and apply the logo decals.. We worked
for about 8 hours in 101 degree temps. But, considering what we were able
to accomplish, it was worth it.
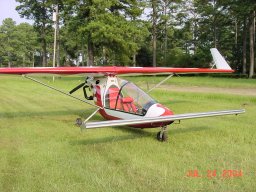
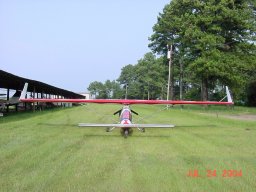
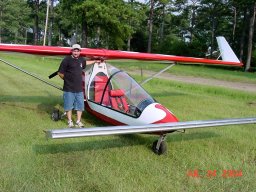
L-R: The XP after Dad washed it. Looking head on.. 38 feet of wing comin' at ya!!
Me with the Falcon.
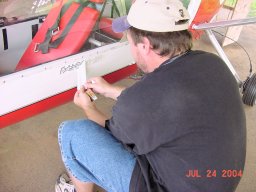
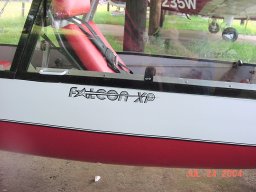
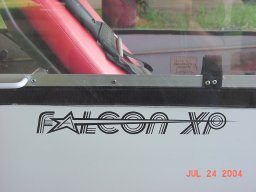
L-R: Me applying the XP decal. The decal on the plane. A close up of
the decal.
28 Nov 04
Dad sold the Falcon.
The guy that bought the Falcon will be doing a website as well, so we will link
to his to keep up with the progress. He promised Dad when he was done, both he
and I will get an hour each in the airplane. Sounds cool to me.
January
2008
The Falcon is flying!!! The
guy that bought it sent us a video a week ago showing the Falcon make it's first
flight since we bought it. It looked great to see that thing take to the
air. We're talking about making a trip to Tennessee to see it for ourselves (and
maybe bum a quick ride in it)