Other Galleries
![]()
![]()
![]()
![]()
![]()
![]()
![]()
![]()
![]()
![]()
![]()
![]()
Other Galleries
![]()
![]()
![]()
![]()
![]()
Other Aviation Related Sections
Falcon XP
You might be
asking: What is a Falcon XP? Back in the early-mid 1980's a company offered a
single and dual seat version of a lightweight homebuilt canard type aircraft
called the "Falcon. " The Single seat version is known as the "Falcon UL"
and the dual, the "Falcon XP." Falcons haven't been produced since 1988
(year may be off, but that's what I believe was the last year) and what's left
out there is all that will ever be. There are others trying to resurrect
the Falcon in a newer version, but nothing has actually "taken off" as a
production aircraft as of this writing. You can learn more about Falcons
by going to the Aviation Links page and click any of the links under "Falcon."
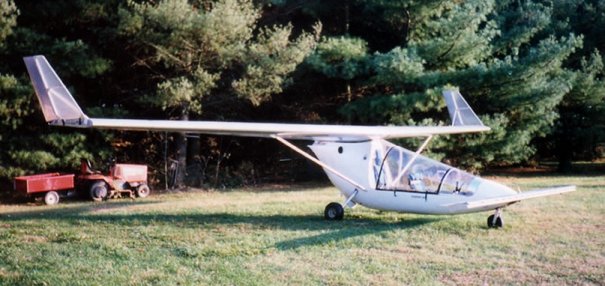
Now that you sort of know what a Falcon XP is, here is what an XP is
supposed to look like:
My dad purchased a Falcon XP back in February 2003. We drove to
North GA and brought it back on a trailer through Atlanta rush hour traffic in
my new truck. (Boy, that was a FUN trip. not.) He was under the
impression before he bought it, that we could change out the instruments, get
the engine checked out, put it together and we'd go flying. That wasn't
the case.. All the instruments did need replacing. However, so did the
engine, the lexan windshield and the covering over the wings, vertical
stabilizers and horizontal stabs also. He decided to purchase it anyway
and we would learn to build as well as fly it.
The full story of the rebuild is here:
Falcon Rebuild
I'm just putting some highlights and
pictures here to add a little more interest to the site.
Feb 03
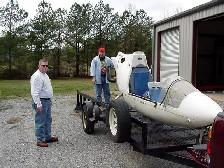
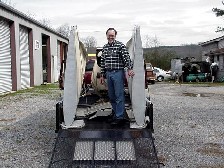
Left: My cousin Kent and I loading up the Falcon
on the trailer.
Right: Dad standing between the wings of his new project.
Apr 03
Test fitting the canard on
the front of the airplane.
Apr-Jul
03
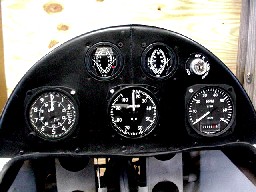
We replaced all the
instruments, gutted the fuselage, test fitted the new engine and moved the
Falcon to it's new hanger at Air Park, Warner Robins, GA.
Aug-Sep
03
Dad completely stripped, re-finished and rebuilt the canard. It looks awesome!!
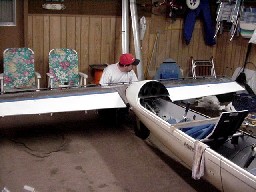
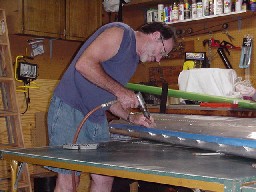
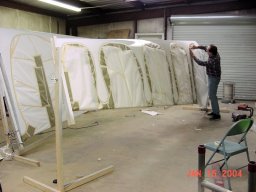
Oct-Nov
03
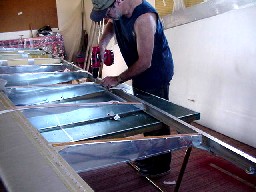
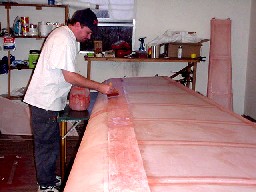
L-R: Dad
stripping the old fabric off the wings and drilling out old rivets. Dad,
ironing out the fabric on a wing while Coy Goff and Steve Massengil recover a
vertical stabilizer. Dad finishing a vertical stab on his own while
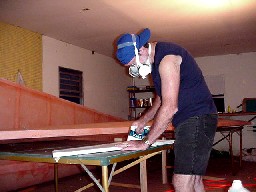
waiting for a coat of "Poly-Brush" to cure. Me applying a second coat of
"Poly-Brush" to one of the wings.
Dec 03
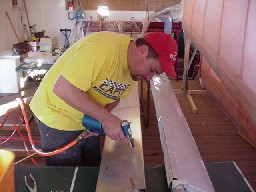
L-R: Me
riveting the ailerons back together. Dad drilling out new mounts for the
ailerons. One of the wings after having the "Poly-Spray" applied by Coy
Goff. Painting will commence after the Christmas and New Year Holiday
period.
04 Jan 04
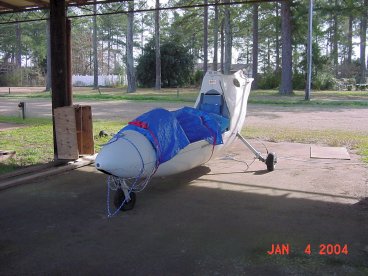
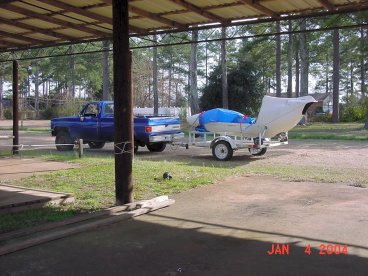
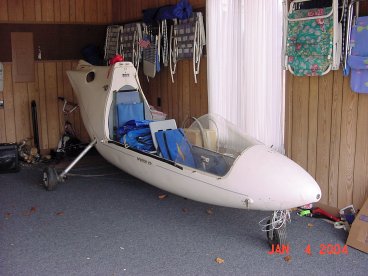
The Falcon has been taken
from Air Park and put back in Dad's garage. While the wings are getting
painted, we will work on getting the body ready to paint, the engine /
instrument wiring completed and everything ready to put together when the
painting is completed.
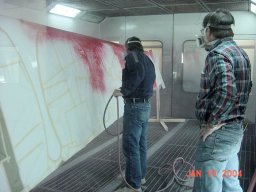
08 Jan 04
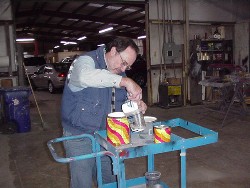
The actual
painting has begun. Two vertical stabilizers and the two elevators were
painted.
L-R: Dad mixing the "Aerothane" paint. Coy Goff doing what
he's the best at doing. Dad and Coy in the paint booth. Two painted
vertical stabilizers and one elevator hanging from a support rack Dad and I
made.
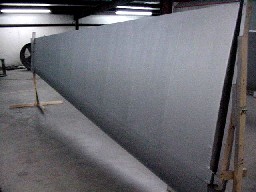
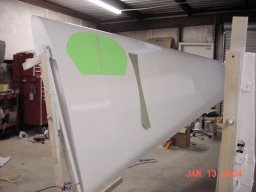
09-10 Jan 04
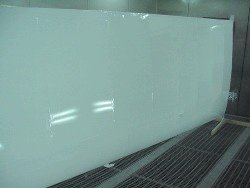
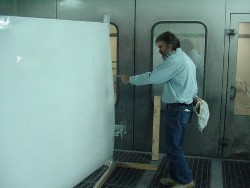
Both wings are finished with
the Insignia white. Next will come the red trim.
Left: One of the finished wings. Note: That is painted fabric reflecting like
that, not metal.
Right: Coy Goff inspecting the painted surfaces.
13 Jan 04
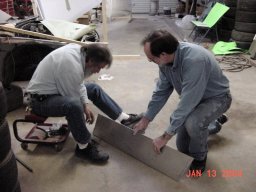
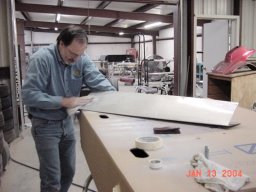
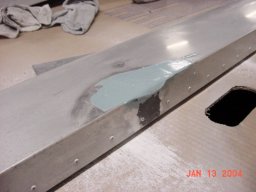
We got the
ailerons, rudders and trailing edges ready to paint. It took sandpaper,
liquid metal, MEK and Bondo to get them all ready, but they are ready.
Painting should commence Thursday on those pieces along with the red trim on the
wings.
L-R: Coy and Dad fixing little dents in one of the rudders. Dad cleaning
trailing edge with MEK and sandpaper. One of the ailerons with the Bondo
to fix a big ding in it. One of the wings with the start of the trim
pattern on it.
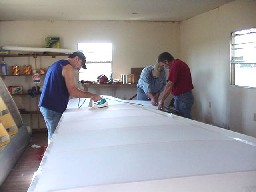
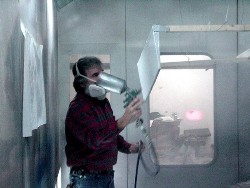
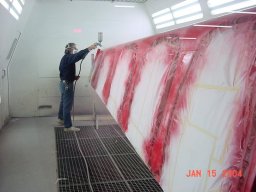
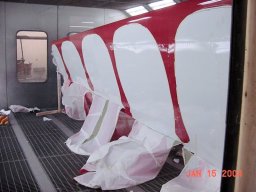
15 Jan 04
The main wings are
now finished being painted. We met at Coy's and the three of us taped off
the design that Coy put on the wings by hand.. (Now called "The Blob").
After we taped off both sides of both wings, we moved each wing into a separate
paint booth. Dad mixed the paint and after we washed each wing, Coy went
to painting.

L-R: Dad taping the
wings. Dad cleaning the wings just before paint. Coy spaying first
coat of red.
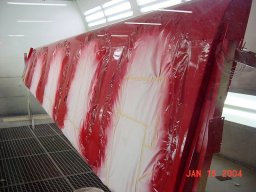
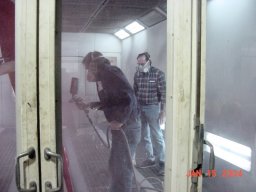
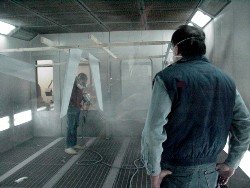
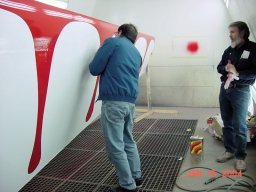
L-R: Coy spraying the
other wing. One wing after 2 coats. Coy and Dad in the booth.
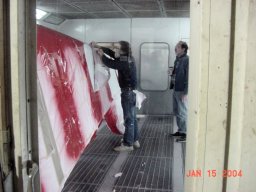
L-R: Coy pulling off the
paper to check the pattern. First look at pattern. Dad cleaning some
of the overspray. There was very little overspray considering the fact
that neither of us had taped for painting before. Coy is a great teacher..
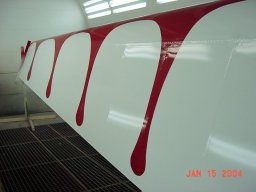
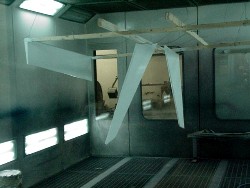
One of the finished
wings...
17 Jan 04
The fuselage is ready to
paint. Dad went to Coy's and they prepared the fuselage for 6 hours. Sanding,
filling, repairing, etc.
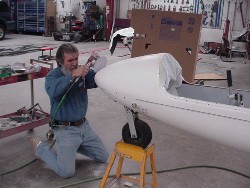
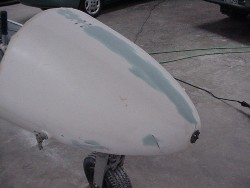
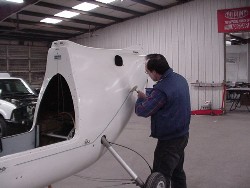
L-R: Coy sanding on nose. The ready-to-paint nose. Dad sanding off the old
pinstripes.
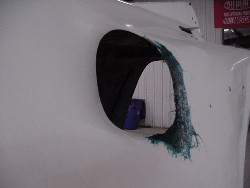
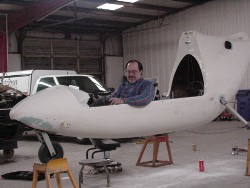
L-R: The repaired air inlet. Dad in the Falcon. One step closer!!!
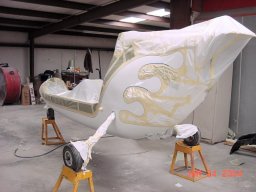
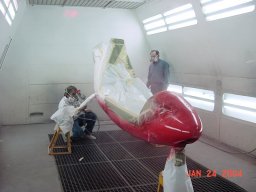
22 Jan 04
The fuselage is painted.
Dad, Coy and I prepped the fuselage, taped it off and then Coy did his magic.
Looks awesome!!
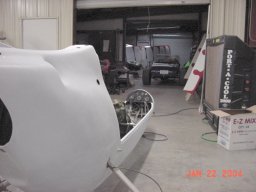
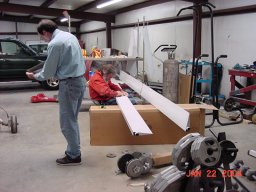
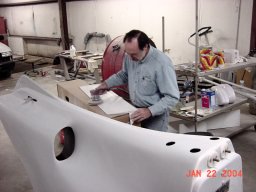
L-R: The Falcon fuselage with all the other parts in the background. Dad
and Coy prepping parts to paint. Dad sanding parts.

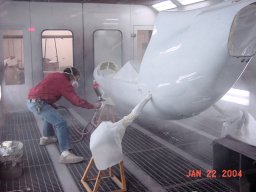
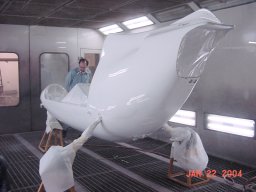
L-R: The primed fuselage ready to be painted. Coy painting. Dad
inspecting the new white paintjob.
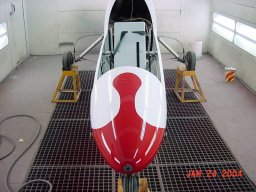
24 Jan 04
The painting is done!!!
After the EAA meeting on Saturday, we headed to Coy's shop to design, mark and
tape off the design for the red accents on the Falcon. 5 1/2 hours later,
we were done.
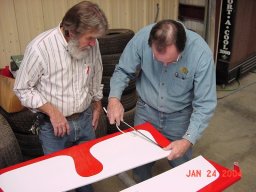
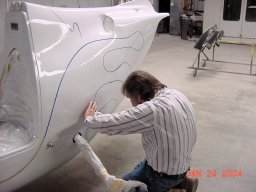
L-R: Coy teaching Dad to pinstripe. A close up of the stripes. Coy
free-handing the accent design.
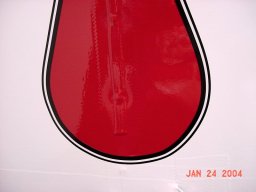
L-R: The taping is complete. Coy putting the first coat of red on.
The finished nose.
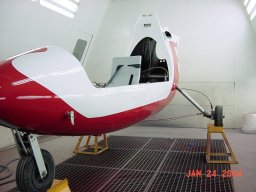


The finished design!!! The pictures don't do it justice. You'll have
to see it in person.
Thanks to Coy Goff for everything he has done. The Falcon looks GREAT!!!
Next, we will take the Falcon back out to airpark and start putting all the
parts together and wiring up the engine.